
So, I saw this amazing circle sweater, but alas, it's knitted. Although I've recently learned to knit, I am nowhere near ready for that sweater, or the amount of time it would take to complete said sweater! So, why not make one for myself. I mean, really, it's just a giant circle. Anyway, thought I would share with you all how I made it. Therefore, this isn't really a pattern so much as it is a tutorial. And because of the nature of this pattern, it can be altered to fit a child too.
Pinwheel Sweater
I used about 7 skeins of Premier Yarns Deborah Norville Serenity Garden in Gems colorway. The package says it's a fine weight yarn, other sources list it as sport weight. I think it's somewhere in between.
H hook
Fdc (foundation double crochet) - here is a link to an excellent video tutorial.
Body
Note: All stitches are made in dc, so always sk ch 1 sp, unless otherwise noted. Sl st to top of ch 3 to join each round.
Ch 4, 11 dc in 4th ch fr hk (12 dc)
Ch 4 (counts as dc and ch 1), *dc, ch 1 in next dc*. Repeat from * to * to end. (12 dc, 12 ch 1)
Ch 3, dc in same st, ch 1, *2dc, ch 1 in next dc.* Repeat from * to * to end. (24 dc, 12 ch 1)
Ch 3, dc in same st, dc, ch 1, *2dc, dc, ch 1.* Repeat from * to * to end. (36 dc, 12 ch 1)
Ch 3, dc in same st, dc, dc, ch 1, *2dc, dc, dc, ch 1.* Repeat from * to * to end. (48 dc, 12 ch 1)
Ch 3, dc in same st, dc, dc, dc ch 1, *2dc, dc, dc, dc, ch 1.* Repeat from * to * to end. (60 dc, 12 ch 1)
Continue increasing as in pattern above until circle reaches diameter of the distance between the outer edges of your shoulders. For example, mine was 17". If in doubt, add a little room. You don't want it to be too tight! Now you are going to make the holes for the sleeves.
Continue in pattern until first ch 1. Ch 1, then fdc number of stitches required and reattach at next set of increases by dcing into the first of the two dcs. To make that a bit simpler, let me give you my example. When I made my sleeves, I had 19 st between ch 1 spaces. So, I fdc 19 st and reattached with 2 dc in the next set. Continue as before for the next 7 sets. Ch 1, and fdc number required again and reattach as before. Continue pattern and sl st to join the round.
At this point, lay the circle out flat. The distinct pinwheel pattern has 12 sets or sections. There should be 3 sections between the armholes at the top, and there should be 7 sections between the armholes at the bottom. Also at this time, you should try it on to make sure there is enough room between the shoulders and to make sure the armholes are large enough.
Continue in pattern until you can put on the sweater and the fronts easily overlap each other, or until you like it. You may find a point where it gets too long in the back for your liking. Just stop there! No rhyme or reason, just make it until you are satisfied.
Here's what it should look like before attaching the sleeves.

Arms
Notes:
There will be no increases made in the sleeves or they will be way too big! Also, you will not be joining the rounds. Count the number of stitches around and divide by 2; this will be your halfway number.
At the point where the fdc joins the sweater, join the yarn and ch 3. Dc next stitch. Continue dc until you reach your halfway number, ch 1, sk 1. Continue with your second half, dcing in each st as you go, until the end. Ch 1, sk 1. Dc in second dc (skipping ch 3 from previous round) and across until you reach ch 1 sp. Dc in ch 1 sp, ch 1, sk 1. *Dc around until ch 1 sp, dc in ch 1 sp, ch 1, sk 1* Repeat from * until you reach the desired length. Try on regularly to make sure of fit.
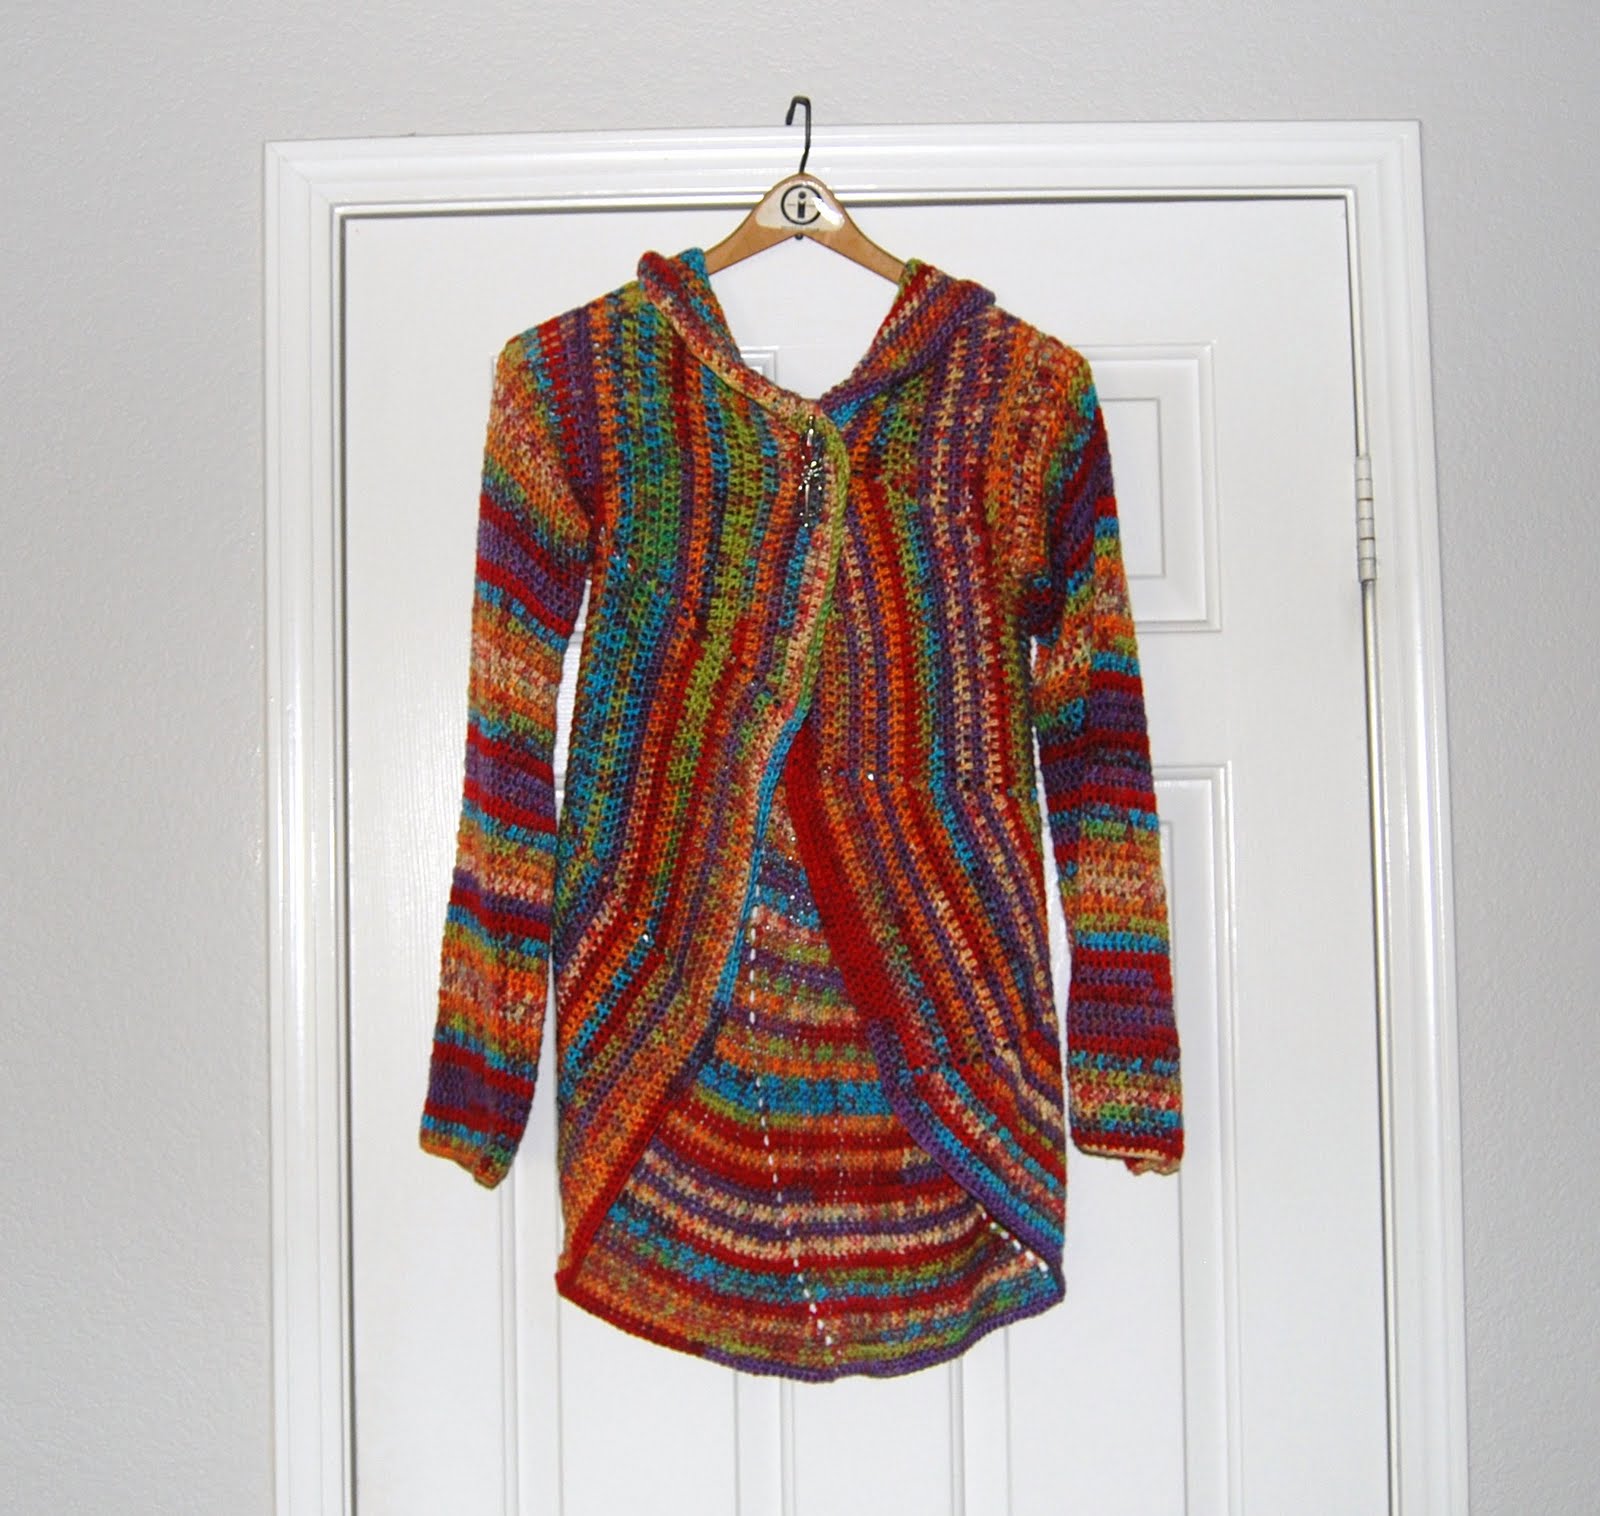
Now, the very nature of this sweater means that it will just fall right off without some sort of closure device. I use a hairpin as a shawl pin, but any shawl pin will do.
Here is a pic of the front where you can kinda see my hair pin closure.
I hope I made this clear enough! Enjoy!


