Sunday, August 8, 2010
Whoa - went from one pattern to three!
Thursday, August 5, 2010
Tunisian in the round video tutorial
I hope you find this tutorial helpful. It's a pretty large file, so be patient while it loads. If you have a slow speed internet, or dialup, you may not be able to see it here. If that's the case, click on this link, and I have posted the video on photobucket.
Monday, August 2, 2010
The Aspen Bag (a.k.a. - I am a huge sellout)
Oh my gosh. I did it. I can't believe it! I just posted my first ever "for sale" pattern!
Now, if you've followed a bit of my blog you will see that I am a HUGE fan of the free pattern. So why sell one? Two words: My Husband. He is so sweet and considerate. He really is. But, he casually suggested (LOL) that I start selling some, ahem, stuff, in order to support my habit. With that said, I figured I would give a pattern a go. Wish me luck! If the pattern goes well, maybe my hunny won't be as begrudgingly supportive of my yarn habit. Instead, maybe he will welcome it with open arms, saying "Honey, you simply don't have enough yarn! Get thee to the yarn store!"
Ahh...I can only dream...
Sunday, August 1, 2010
Deeply Textured Hat free pattern, and other mutterings
But let's not think it's been all work and no play for this lady. Oh no. I've been crocheting up a STORM! I promised my sweet hubby that I would blow through my stash before buying any more yarn, and until today, I've stuck to that promise. Do you know how hard it's been to refrain from random yarn purchases? I mean, really, the ads come out every Sunday and Wednesday, taunting me with the deals of the week. But I've resisted. Until today that is. However, I only bought one ball of yarn and I really NEEEEEEEEEDED it (for a project to be named at a further date). So that's not really breaking a promise, is it? LOL
I am still super into Tunisian crochet. In fact, I am putting the finishing touches on my very first "for sale" pattern! Just thought I would try my hand at it. Worst that can happen is no one likes it! LOL Anyway, it's a bag, well, two bags actually, and I am hoping to post it in the next day or two.
But for now, as a welcome back to me present (from the land of painters tape, rollers, and ah...crap, I spilled paint on the floor debacles) I am pleased to give everyone a free pattern! This is regular crochet, so no fear, ok?!
Deeply Textured Hat
heavy ww yarn (aran yarn)/ J hook
**Gauge is not particularly important as I think it should fit just about any adult. However, my gauge on this hat was 2 row heights = 1" **
Stitches to know - dc (double crochet), fptc (front post triple crochet). Click on the link if you are unsure about the fptc.
NOTE: sl st to join each round
Round 1: Ch 4, 11 dc into 4th ch from hook (12 dc)
R2: Ch 3 (counts as dc from here out), dc into same st, 2 dc into next st and each st around. (24 dc)
R3: Repeat R2 (48 dc)
R4: Ch 3, dc into same st, dc next 3 st. *2 dc next st, dc next 3 st* Repeat from * to end. (60 dc)
R5: Ch 3, fptc around same st, *dc next st, fptc next st* Repeat from * to end. (30 dc, 30 fptc). After joining the round, sl st to the next st.
R6: Ch 3, fptc around first dc from previous round, *dc into fptc from previous round, fptc next* Repeat from * to end.
R7: Repeat R6 until you reach your desired length. Finish with one round sc in each st.
FYI: I have a total of 14 rows = 7".
Feel free to destash some of your scrap yarn by adding a stripe or two. On the gray version I created a whole round in the green, and one row sc. On the brown version, I just did the sc round in blue. I only had the tiniest bit of that blue in my stash, and now it's gone!
Another note - if you choose to use a lighter weight worsted yarn, you may want to increase your crown stitch count to 72, depending on how tightly you crochet.
Well, hope you enjoy! Can't wait to see how it turns out for everyone!
Friday, May 14, 2010
Ribbed Brim Tunisian Hat
OK - here goes...
Materials: two colors ww yarn, double-ended J (6.00mm) hook, tapestry needle
Chain 60 (small hat), 66 (medium hat) or 72 (large hat)
Pick up stitches around with primary color as in Tss. Keep turning hook back and forth as Tunisian in the round.
Turn hook and bind off as normal with secondary color.
Continue around for about 14 rows. Then, with all decreases happening on the forward pass, tss next 4 stitches, tss2tog next two stitches. See pic.
Continue for one round. Next round, tss next 3 stitches, tss2tog next two stitches. If it works out correctly, you should be tss2tog the stitch before and the decrease stitch from the previous round. See the picture since I am sure that made no sense whatsoever. The silver hook is pointing to the example. Sorry I used dark colors. LOL
Continue in the decrease pattern until only one or 2 stitches remain. Fasten off by pulling both colors through the last loop on hook. At this point, a small bit of the hat may be sticking up a little funny from the top. No biggie. Just tuck the loose ends back through the hat and weave in the ends nicely.
Now, join either color yarn to the original chain with a sl st. At this point, you can switch to a regular J hook, if you want. Chain 3 (counts as bpdc from here out), and dc in each ch around. 66 dc. Sl st to beginning ch 3.
Ch 3, fpdc next stitch, bpdc next stitch, and so on. You are creating the ribbing. Continue this around, sl st to first ch 3. Continue for 2 or three more rounds (depending on how long you want the hat) and then finish off.
Weave in ends neatly BECAUSE...this hat is also reversible! Tunisian "wrong side" is just as interesting as "right side" in my opinion. Just check out the reverse of these!
Well, I hope you enjoy this pattern! Please don't sell this pattern! Have fun!
Sunday, May 9, 2010
More Tunisian projects and a free pattern!
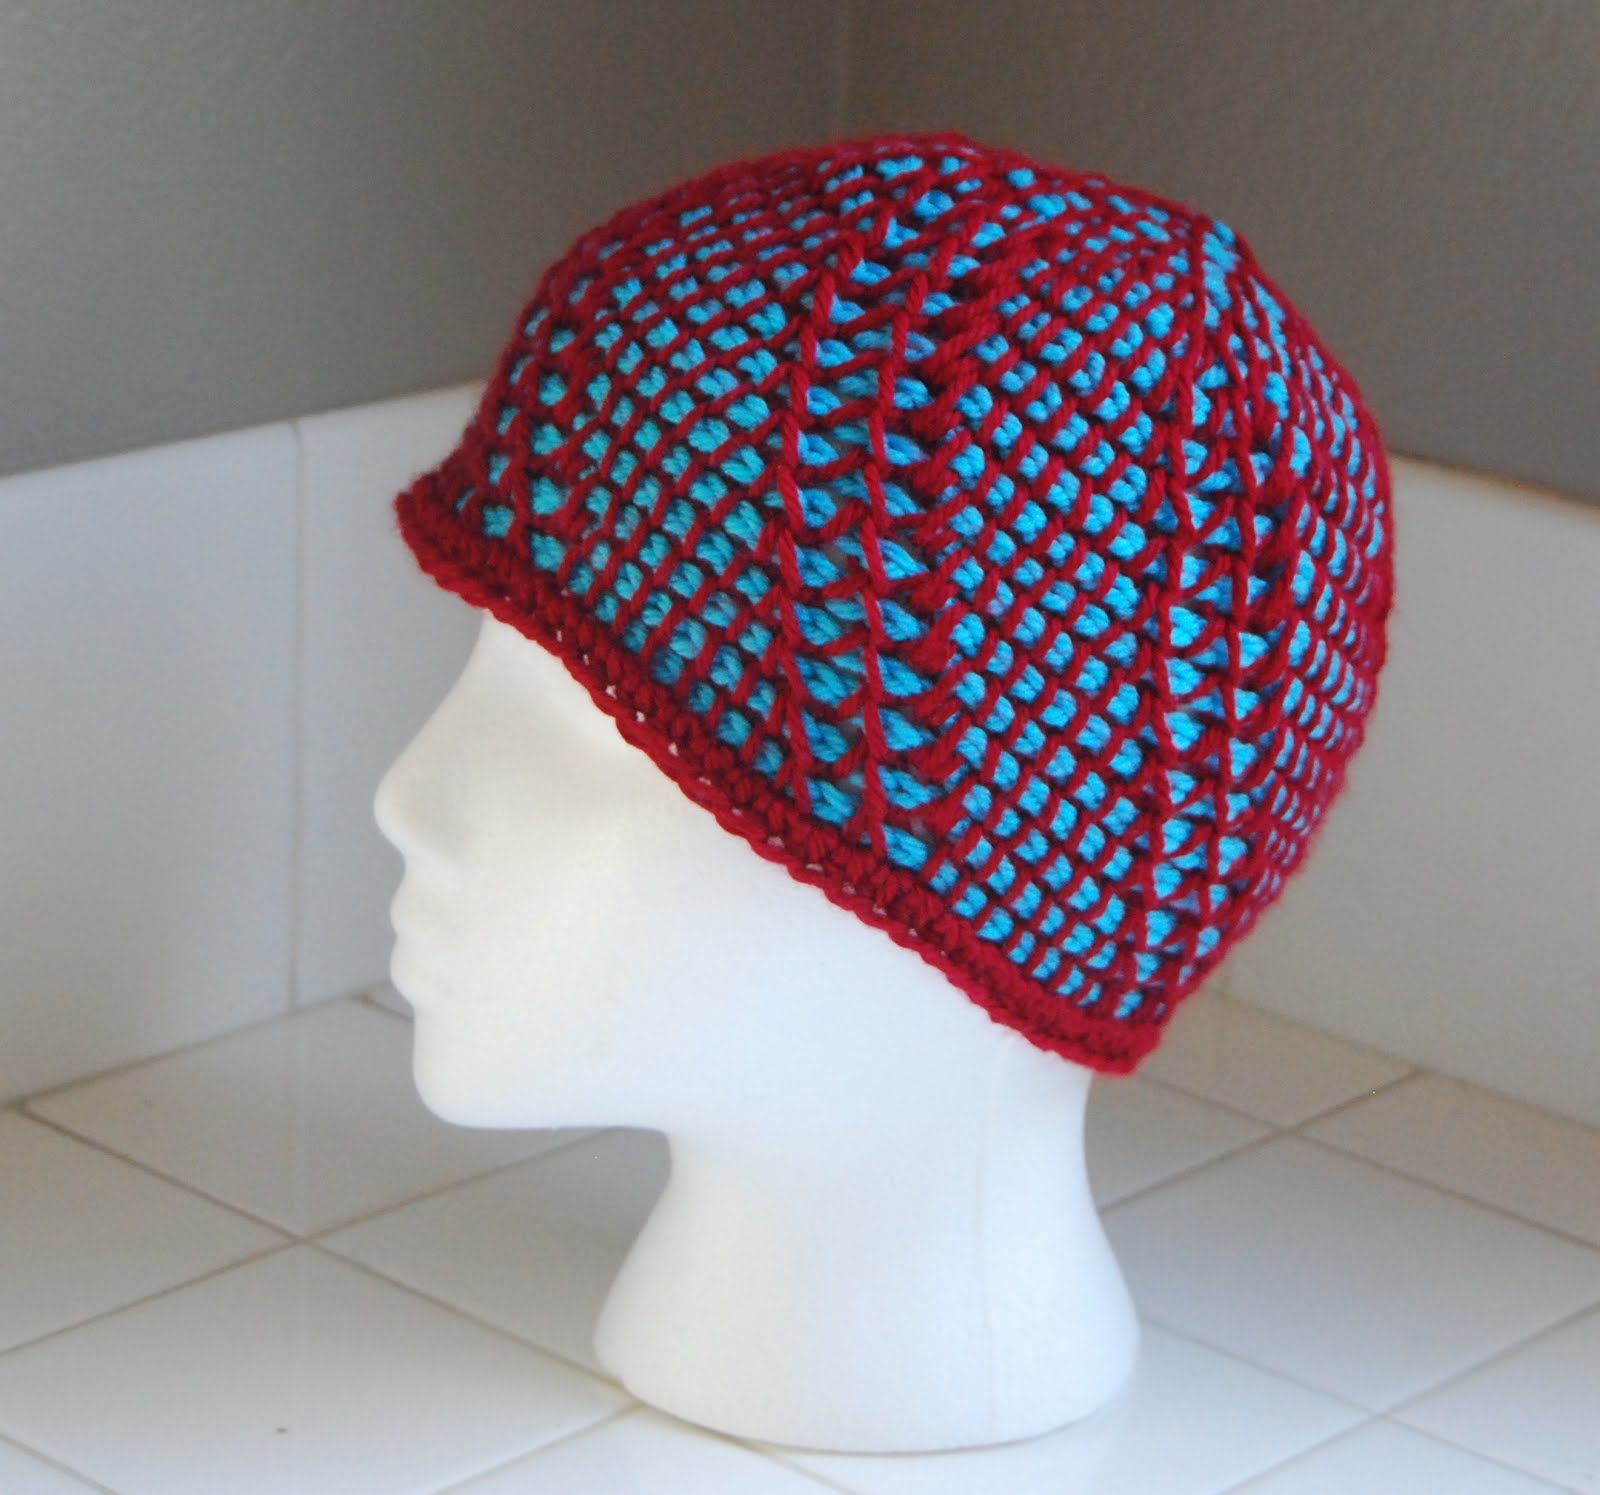
Anyway, just wanted to share my recent creations. This honeycomb hat was made Tunisian in the round, and I really like how it turned out. I created the pattern myself! I also made a junior version which my daughter, begrudgingly, modeled for me. Look at the bottom of this post for the pattern.
I also made these two bags. The blue one is that same honeycomb pattern, but the red one is all knit stitch in the round. You can't see it, but there is purple behind the red. I used the new Country Loom by Loops N Threads from Michaels. I absolutely LOVE it! I will be using it again, for sure.
Honeycomb Hat
Materials needed:
Double-ended crochet hook, size 6.5mm
Worsted weight yarn, two colors (MC - main color, CC - contrast color)
Tapestry needle
Stitch explanation:
Tss - tunisian simple stitch. I think this is also called a basic stitch.
Tps - tunisian purl stitch. This is also called a reverse stitch.
Tunisian crochet in the round. This video takes a while to get the point, but it's worth viewing.
Now, on to the pattern...
With MC, chain 61, being careful not to twist the chain, sl st the chain together to form a ring (ETA - I just tried a hat starting with ch 61 using a thinner ww yarn and it was a bit too tight. Depending on the yarn, you may want to go with ch 66 or 71.)
Pull up loops as basic forward pass, all around the ring, with CC chasing (or binding off) behind.
Once foundation row is done, tss in the next stitch and tps next stitch. Continue in this manner with CC chasing until the hat reaches about 5 - 5.25" long. If all is well, you should be tss in a tps stitch from the round previous, and tps in a tss stitch.
Now comes the decrease part, and here is where a stitch marker may come in handy. *Tss next stitch, tps next stitch, tss next stitch, tps next stitch, then tss next 2 stitches together. Tps next stitch, tss next stitch, tps next stitch, tss next stitch, then tps next 2 stitches together* *Repeat to end of round.
Next decrease round: *Tss next stitch, tps next stitch, tss next stitch, tps next 2 stitches together.* *Repeat to end of round. Now, in case you missed a stitch, or had too many stitches, don't worry! Just start off this round with tps and keep on going. Honestly, no one will know. LOL!
Next decrease round: *Tss next stitch, tps next stitch, tss next 2 stitches together. Tps next stitch, tss next stitch, tps next 2 stitches together.* *Repeat to end of round.
Next decrease round: *Tss next stitch, tps next 2 stitches together.* *Repeat to end of round.
Next decrease round: *Tss next 2 stitches together. Tps next 2 stitches together* *Repeat until there is just one stitch left (or two, depending on how the rest of the pattern went for ya!). Fasten off the yarn by pulling both colors through the MC loop on hook. Pull the ends back down through the hat (so they are on the inside) and use your tapestry needle to clean it up. Also, clean up the ends from the beginning of the hat.
Voila! You are done! And best of all, the hat is reversible. The back side of Tunisian work is just as visually interesting as the front.
A little disclaimer (if you even made it this far) - I have just learned Tunisian, and actually never read or wrote a Tunisian pattern. I cannot guarantee that this pattern will be free of errors. But, give it a try and tell me what you think. I think it will make a great gift and I think you will be able to sell these at your local fairs, etc.!
Oh, and for the junior version, chain 53, and follow the rest of the gist of the pattern. :)
Tuesday, May 4, 2010
My Tunisian projects
Here is my precious princess modeling my first foray into Tunisian short rows. The skirt is my favorite! The shirt is cute too, but I made the straps a bit too long.